
A few days ago I showed you how to make a decorative basket
using embroidery frames and a piece of sack cloth or burlap cloth, and I promised you a bonus with another DIY you can make using these same materials. So today I bring you the second part of the tutorial in which we will see how to make a very easy and original ceiling lamp.
You may have already noticed that I love handmade lamps because it is not the first time they appear in this blog. The themes related to original lamps attract me a lot as you’ve seen in the post where I showed you how to make these paper hanging lamps, in which I told you how to recycle a lamp that did not work or even in the post I wrote for the blog DiarioDeco about how to customize a lamp with wool.
Do not complain about ideas for making lamps!
This time we will see how to make a lamp shade with the same materials that CreaVea
provided for the DIY of the sewing basket. I repeat the materials that I already indicated in the post on Monday and I include some more specific lamp.
MATHERIALS
- 2 no. 19 cm embroidery frames
- 1 no. 18 cm wooden circle
- 2 no. Scraps of jute cloth, A4 size. If you prefer it, you also have this one with dots that you would only need 1 No. Dots jute fabric.
- 1 no. Golden lampholder, golden electric cable and ceiling plug / connection. You can buy it by parts or already prepared
The first part of the process is the same as we used for the basket. In order not to repeat myself, I refer you to this post, you can see it here: where it says: FIRST PART – COMMON.
Let’s now look at the specific process for making the lamp.
It is about making the support for the bulb holder where the bulb will be.
To do this, a hole must be made in the center of the wooden circle of the diameter of the socket.
I have used a jigsaw but you could open an initial space by boring with the drill and cutting with a small saw or making a succession of drills side by side. Surely it will not look beautiful but do not worry because you will not be seen much.
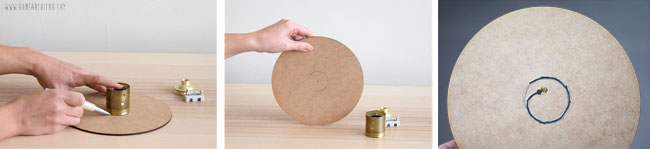 Photo © Home archiLAB
I chose to cover this circle with a decorative paper, although it could also look good with just paint.
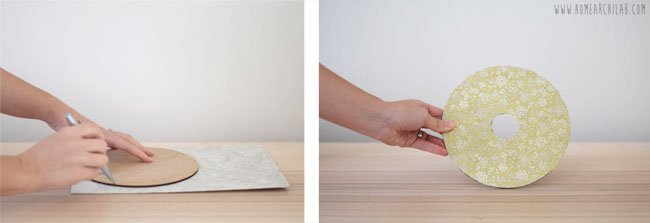 Foto: © Home archiLAB
Now you have to make a stop to the lamp holder because making a precise hole in which it fits perfectly is quite complicated with homemade tools. In my case it finished off a bit looser and that’s why I stuck a piece of the golden electric cable (removing the inner cables) around the socket to make a stop. You can see it here:
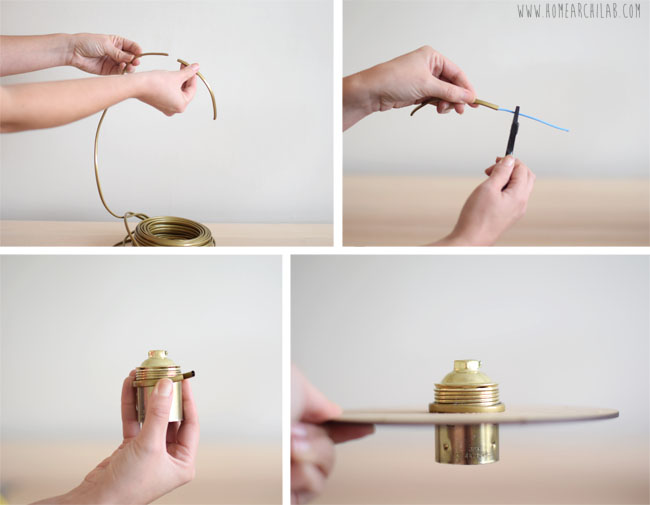 Photo © Home archiLAB
The only thing that is left now is to fit the circle in one of the frames. The circle has exactly the inside measurement of the frame as we saw in the basket, so it fits perfectly and it remains firmly held.
To make the electrical connection of the lampholder you can see the step by step in the post of Hanging lamps.
As I indicated before you can also buy it done in places like Leroy Merlin, Bauhaus, etc.
Finally I put the bulb holder with the bulb from the inside.
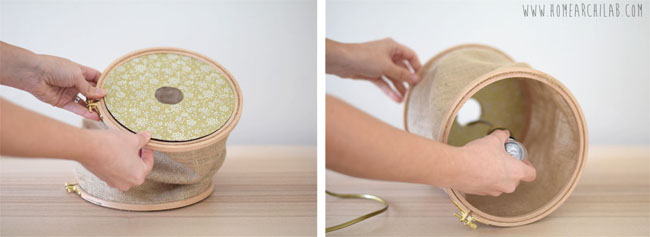 Photo © Home archiLAB
Here is the result of this idea to make your own original ceiling lamps that would look great on a bedside table or in a reading area.
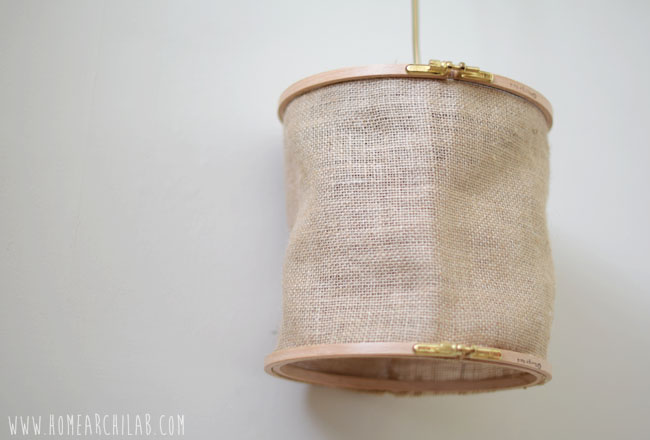 Photo © Home archiLAB
If you are going to hang it at a relatively low height such as on the bedside table, the choice of the top paper acquires some importance and you can combine it with the rest of your decoration.
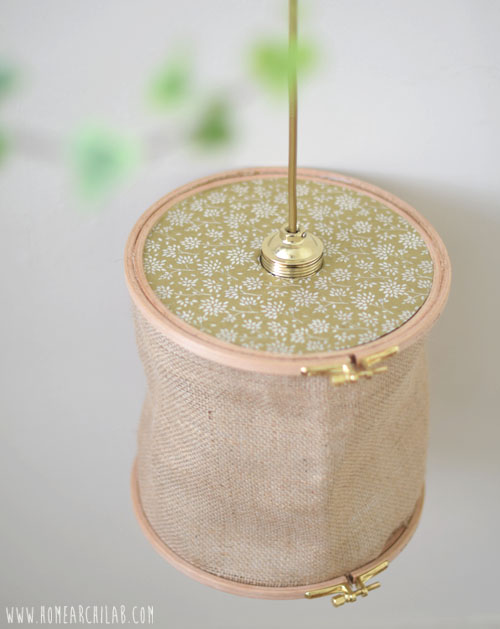 Photo © Home archiLAB
The sackcloth or burlap allows the light to pass because it has spaces between its strands, although this type of lamps will go well as ambient light or light located at a point rather than as general lighting of a room.
If you want to learn how to properly light your house and ideas of where you could place a lamp like this one, you can read the post House lighting, where we discover all the keys at the hands of an expert.
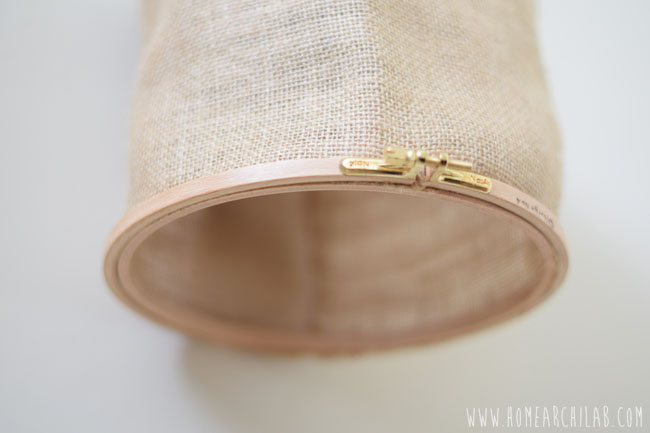 Photo © Home archiLAB
What do you think about this ceiling lamp?
Do you keep the basket or the lamp?


